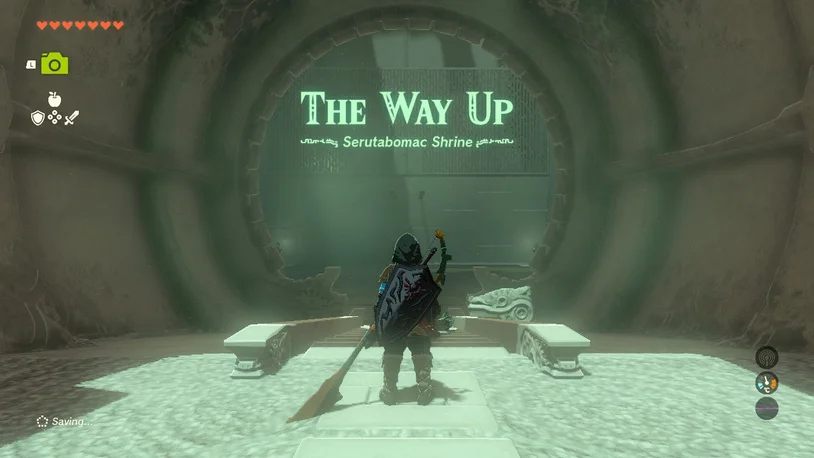
his page contains a guide for how to locate and enter the shrine, a walkthrough for the shrine itself, and puzzle solutions as well as treasure chest locations for the TotK Serutabomac shrine.
Location and Access
On the northeastern edge of the floating island, behind Hyrule Castle, sits the Serutabomac Shrine. Using the Lookout Landing Skyview Tower to ascend above the castle and then glide across is one of the finest ways to arrive here early. With more endurance and if you’ve finished the challenge in Rito, this is even simpler. Slide across to the throne room’s long entrance on the first floor of the castle. Take the northeast-pointing exit. Feel free to explore as well!
Once outside, use anything to gain height before gliding over to the northeastern corner of the former island, where the shrine is located on level B1 of the dungeon.
Complete Guide with Puzzle Solutions
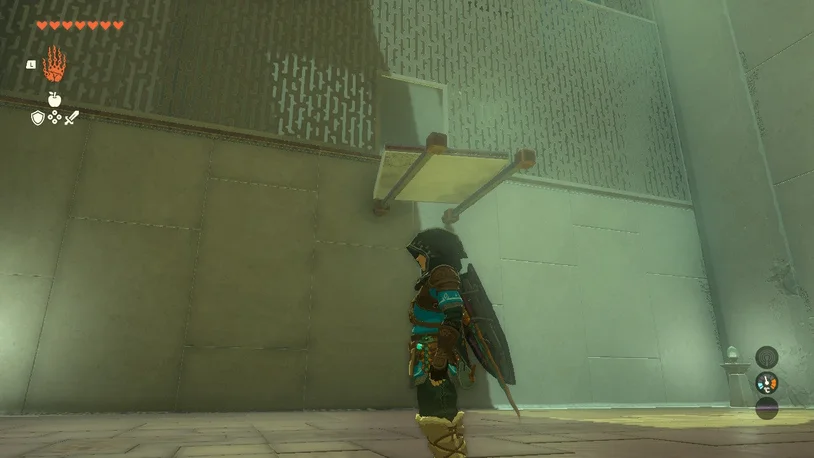
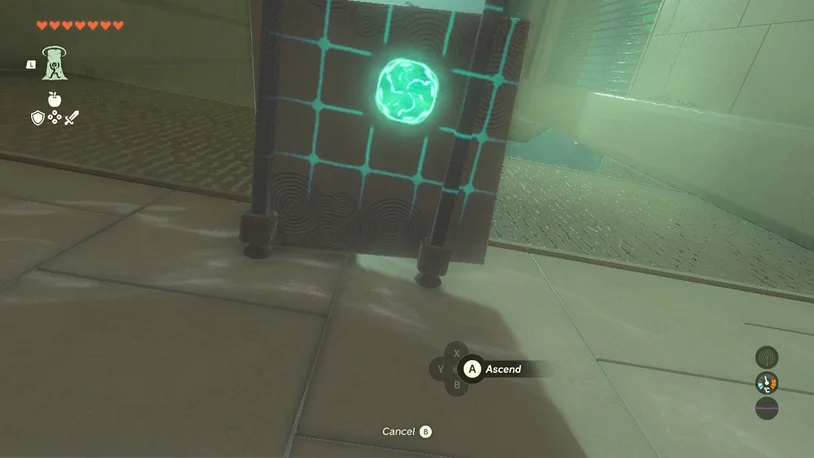
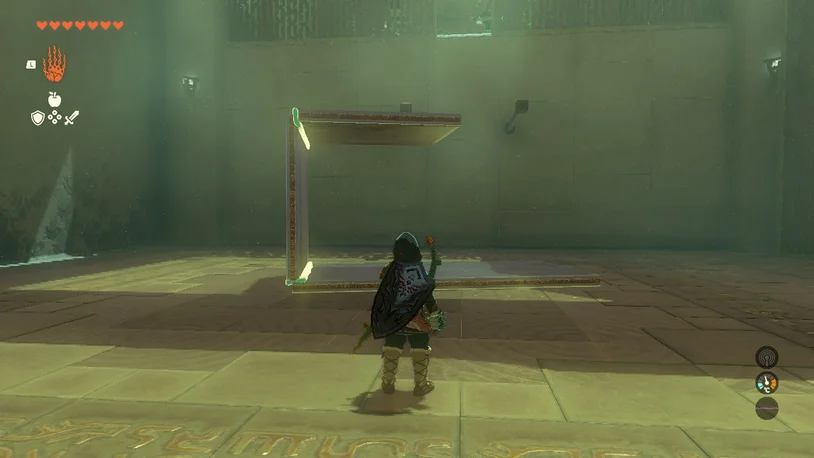
You must climb up to the high door in the first room. Place Ultrahand gently on the metal plate and the beams in front of the entrance. Ascend while standing underneath it. Step inside the next space.
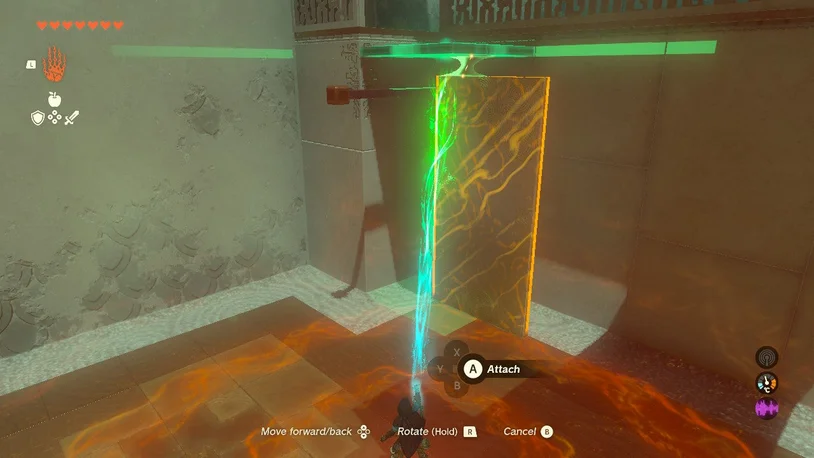
Another square metal plate and a longer metal plate can be found in the second location. Initially, raise the longer metal plate against the beam before the door by rotating it so that it is standing straight up on its short end.
Grab the little square plate, hold it steady, and fasten it to the top to create a “T” platform. Return to Ascend to leave the room.
How to Access the Treasure of the Serutabomac Shrine
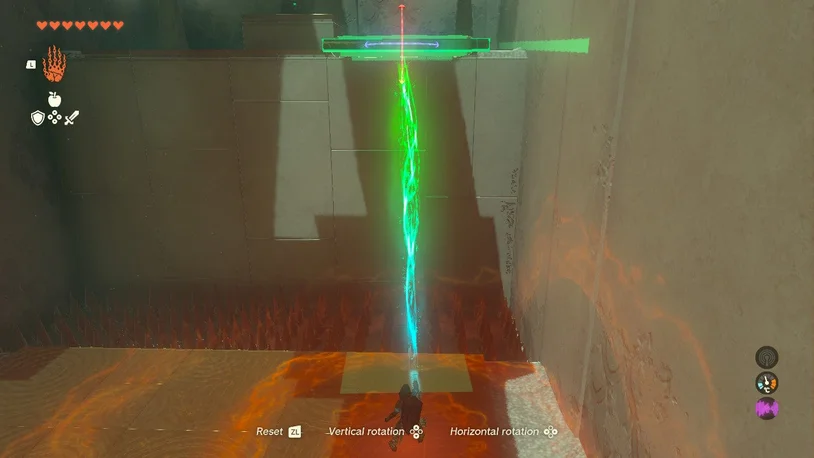
Two square metal plates and one more lengthy plate are in the third room. The treasure box is located on the far wall, across from the entryway. It’s not just awkwardly high up; there are spikes all around it. The height of the platform makes ramps difficult to use in this situation. Instead, join each metal plate together to form a single, lengthy piece. Get it right next to the wall by picking it up with your Ultra hand.
The metal plates must be forced onto the platform using vertical and horizontal rotations when they are up against the wall because they cannot be pulled up and onto it. While making sure you can still walk under it to use Ascend, position it so that the platform is roughly halfway up the platform to prevent it from tipping.

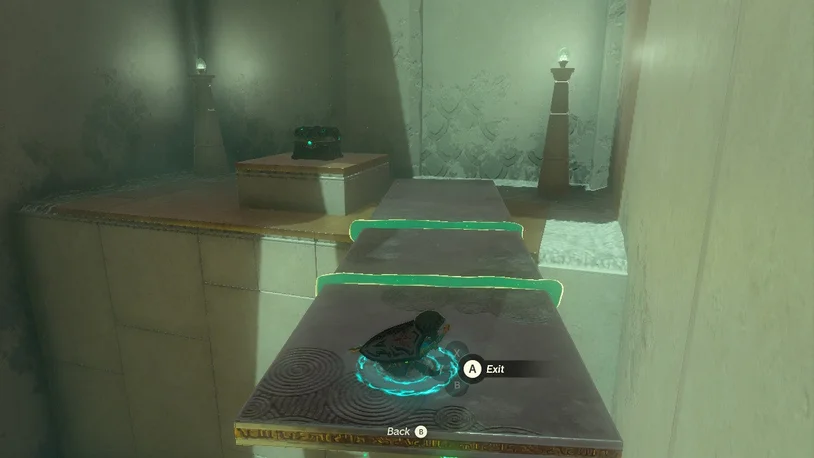
Once you’re standing, you can take the loot and carry on with the challenge. You will receive a Magic Rod. With Ultrahand, toss the metal platform into the third room, then descend to meet it.
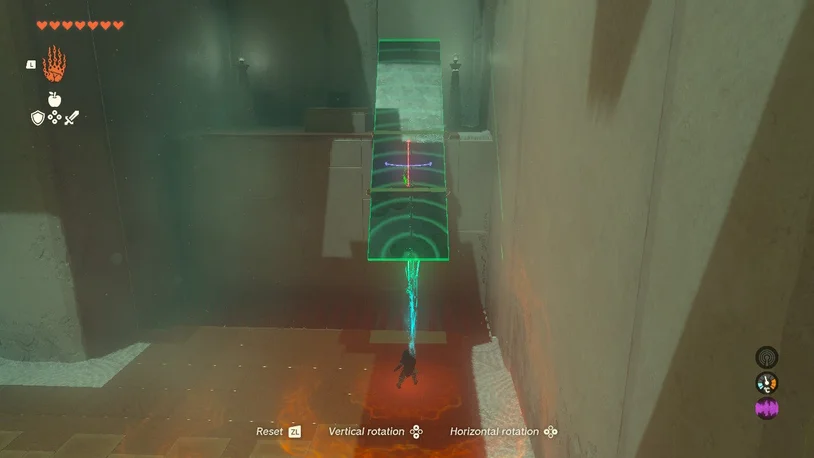
This time, the beams are not high enough for you to cover them with a metal plate and then ascend to the escape. You’ll need to construct a little structure instead. Make an L-shaped structure out of the long metal plate by using it as the base and vertically attaching one of the square metal plates to each end. To create a little roof, now fasten the third square metal plate horizontally to the top of the square vertical plate.
This creates two platforms for you to Ascend through. Pick up the structure with Ultrahand and place it on the beams below the door, making sure the top square metal plate lines up with the door.
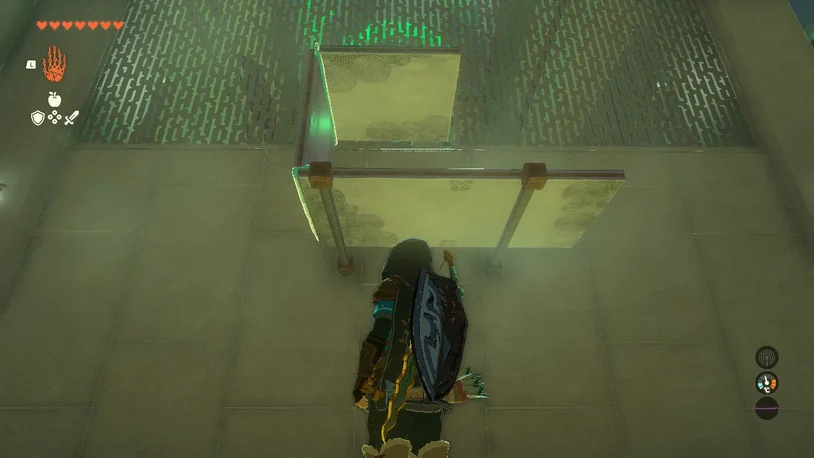
You can get out of your building by going up twice.
You’ve completed the shrine and obtained a Light of Blessing!