Morok Shrine (A Bouncy Device), one of 152 shrines in The Legend of Zelda: Tears of the Kingdom (TOTK) (see all shrine locations), is a shrine situated in the Lanayru region, notably on a low Sky Island connected to the earth by a giant root. For the TotK Morok shrine, this page includes directions for finding and entering the shrine, a walkthrough of the shrine, answers to puzzles, and locations of hidden treasure chests.
Morok Shrine Location/How to Reach
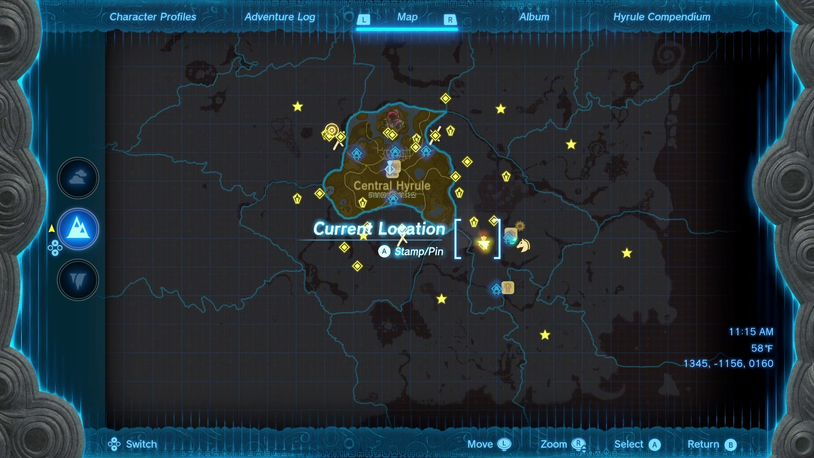
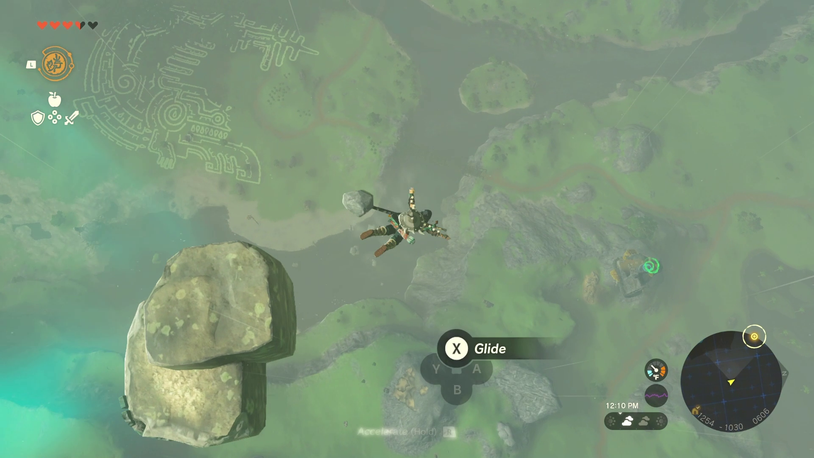
This shrine is on a low-flying Sky Island, so getting there will require some cunning. One technique entailed standing atop the fragment of Sky Island that had fallen to the south of the tiny mountain south of the shrine (located at 1255, -1034, 0144), recalling it, then leaping off and gliding to the shrine after the Recall had raised it high enough.
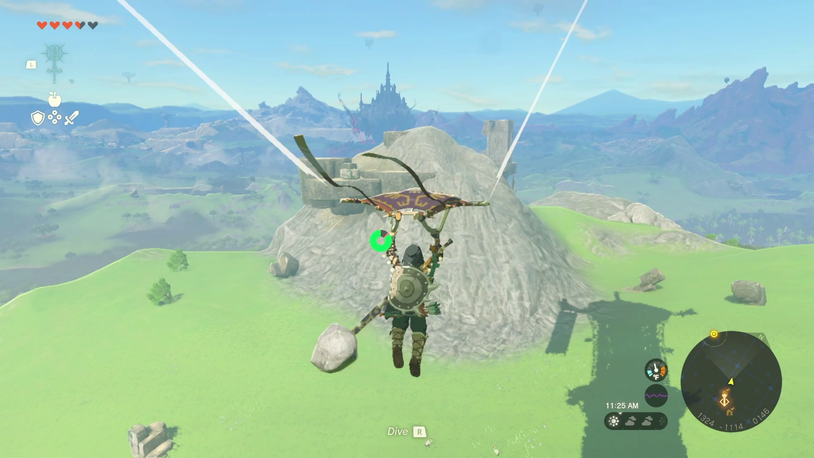
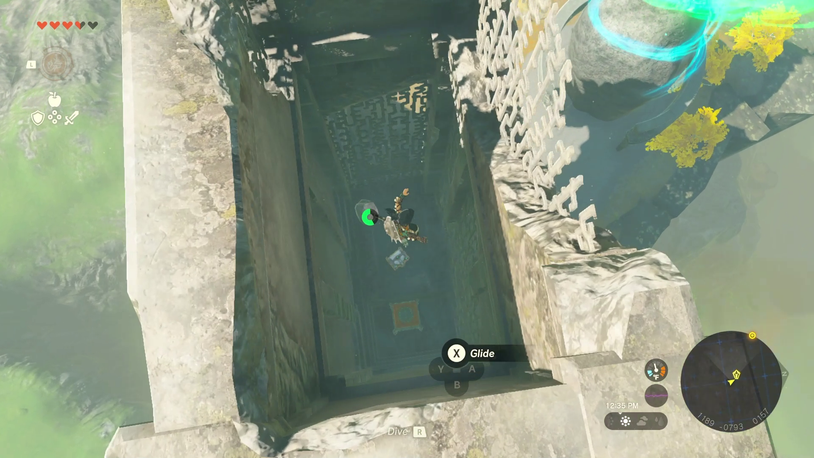
On the Morok Shrine Sky Island (at coordinates 1189, -0793, 0135), be sure to descend inside the little cage because it has a chest with a Large Zonai Charge. The spring will then release you from the cage if you stand on top of it and strike it with your sword. Then you can go inside the shrine.
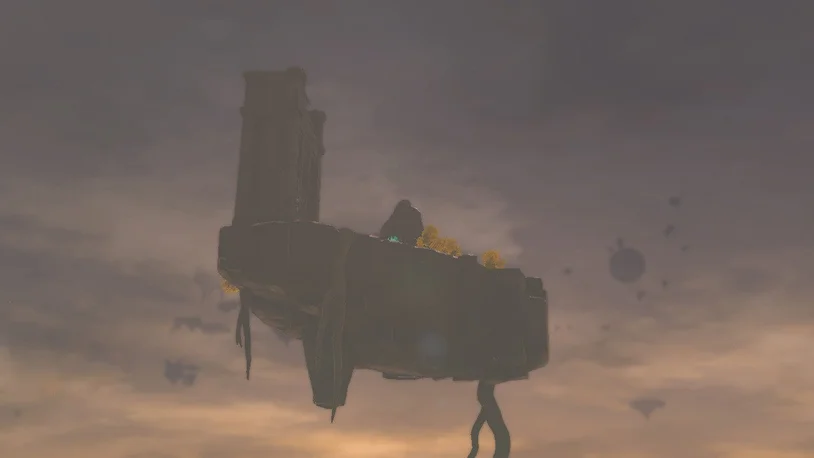
Alternately, you can approach the island from the ground and ascend to it using the roots hanging off of it. But be cautious. Gloom Hands prowl the region, but if you’re on the platform attached to the dangling roots, they can’t get to you.
Walkthrough and Puzzle Solutions for Morok Shrine
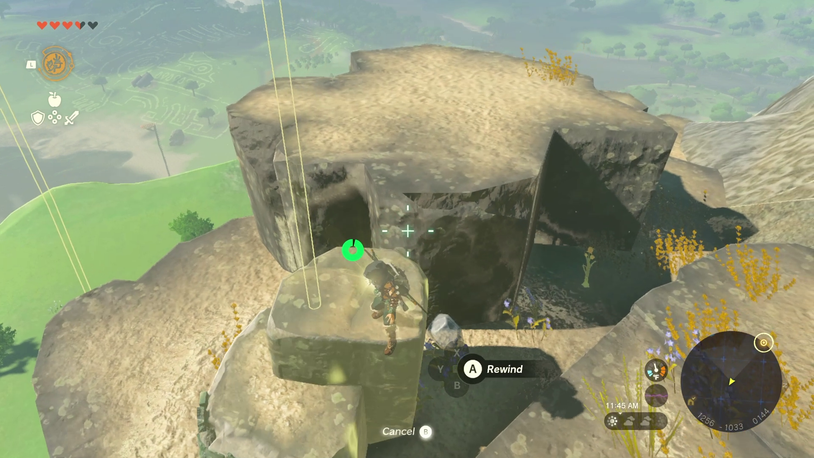
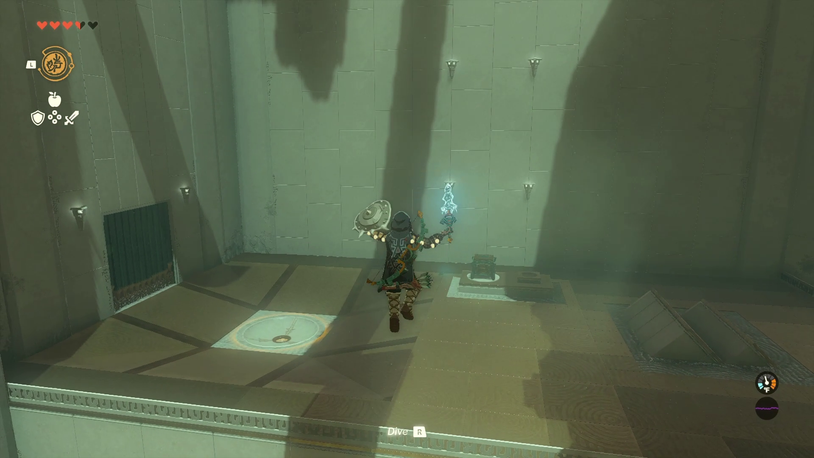
The Spring devices, which come to life when you strike them, are the centre of Morok Shrine. While you’re on them, jumping before striking is the simplest way to accomplish this. You can also accomplish this with a straightforward sword slash.
Walkthrough and Puzzle Solutions for Morok Shrine
The Spring devices, which come to life when you strike them, are the centre of Morok Shrine. While you’re on them, jumping before striking is the simplest way to accomplish this. You can also accomplish this with a straightforward sword slash.
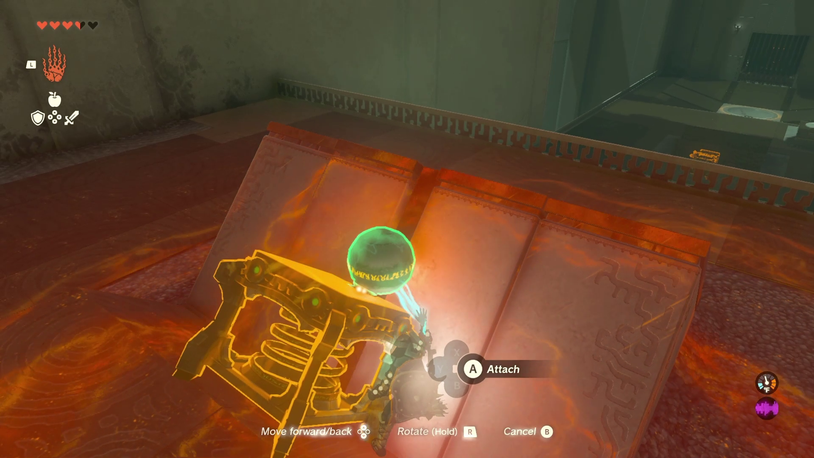
Grab the Spring with Ultrahand and position it so the launching surface faces the platform across the chasm. Then, place it on the angled blocks for support. Place Link atop the Spring’s launching platform, then strikes it to pass through the opening.

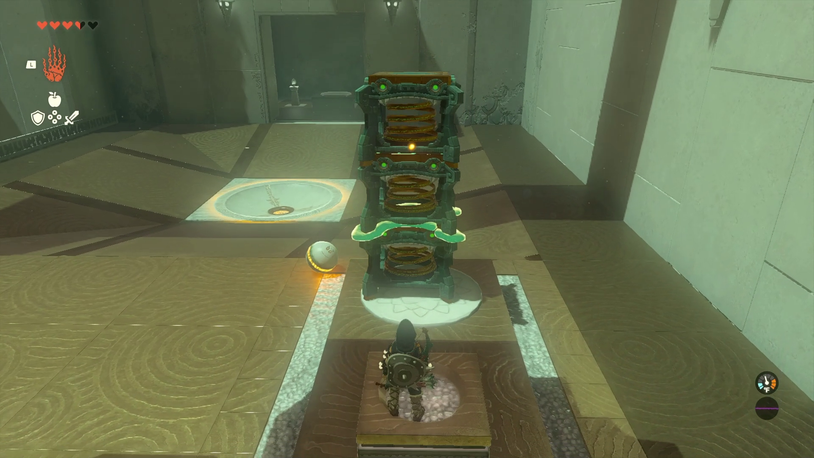
Once over the chasm, see the ball on one side and the Spring on the other. Launch the ball across the gap first, then repeat the process with the Spring as you did on the other side.
For the ball to roll down the ramp and onto the spring’s surface, it must be ensured that the spring is tucked between the angled blocks. Before firing Link across, launch the ball.
The gate will open, allowing you to obtain the second and third Springs on this side of the chasm if the ball doesn’t fall into the hole on its own. If this happens, pick up the ball or use Ultrahand to place it.
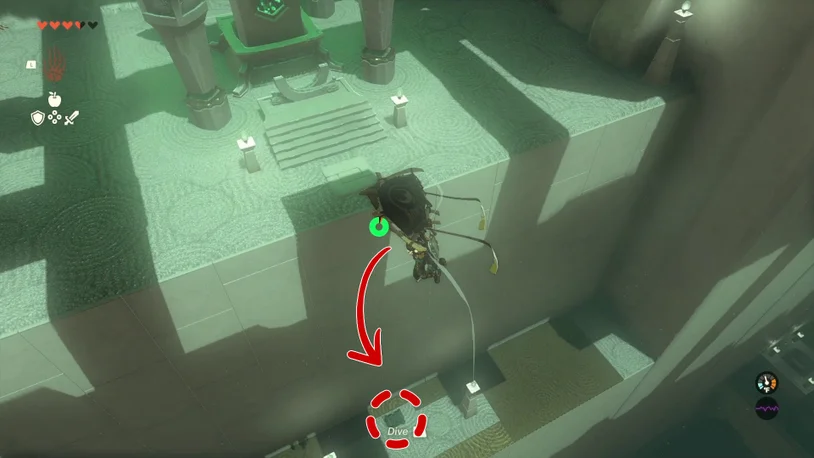
Utilising an Ultrahand, stack all three Springs on top of one another. If they are not squared off and aligned correctly, you won’t have the necessary launch power. Then ascend to the top of the three springs and jump out to the ledge above to complete the shrine. Don’t forget to look for the hidden treasure there as well!
How to obtain the Treasure Chest
For Morok Shrine, there are two chests. As mentioned above, one is outside the entrance inside the cage, while the other is immediately before the exit. Drop to the ridge between the end of the shrine and the ground level after using the three springs to propel yourself to the finish line.

You’ve completed the shrine and obtained a Light of Blessing!