In The Legend of Zelda: Tears of the Kingdom, the shrine known as Sinakawak Shrine (An Uplifting Device) is situated in the Central Hyrule Region. This page includes directions for finding and entering the shrine, a walkthrough of the shrine, answers to puzzles, and locations of the shrine’s treasure chests.
Location and Access
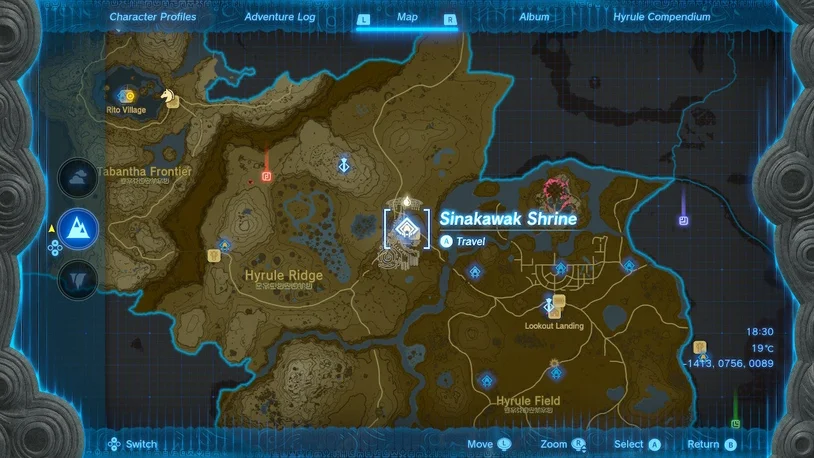
The warp point for New Serrene Stable is Sinakawak Shrine, which is close by in the Central Hyrule Region. It is northeast of Lookout Landing and southeast of Lindor’s Brow Skyview Tower.
Walkthrough and Puzzle Solutions
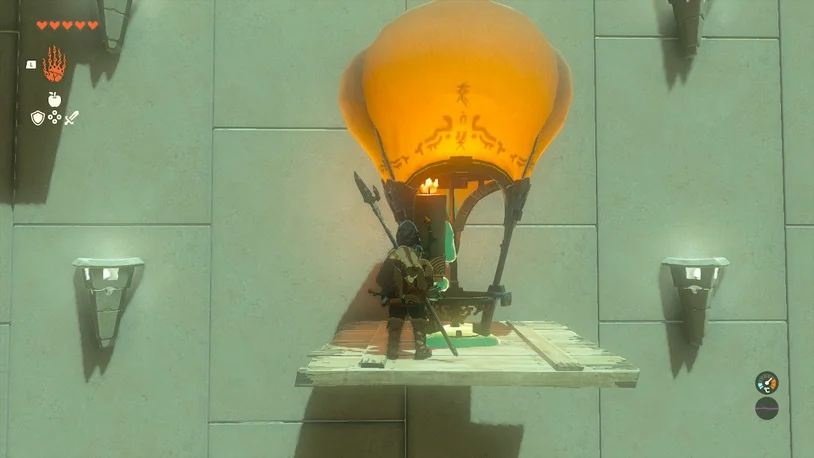
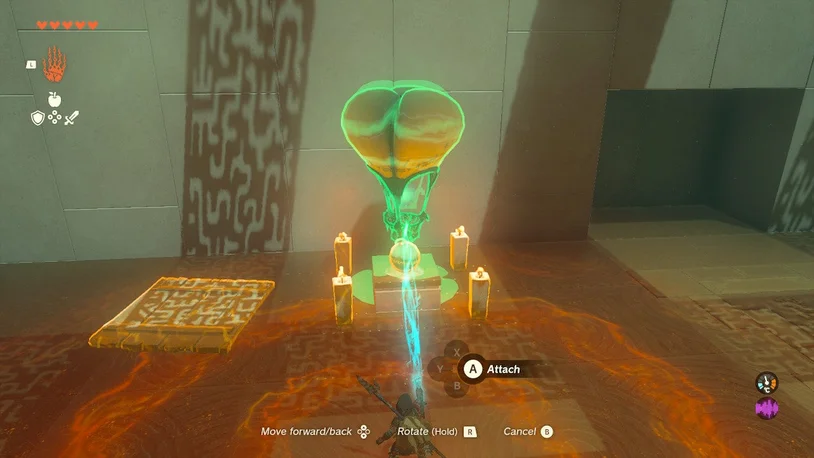
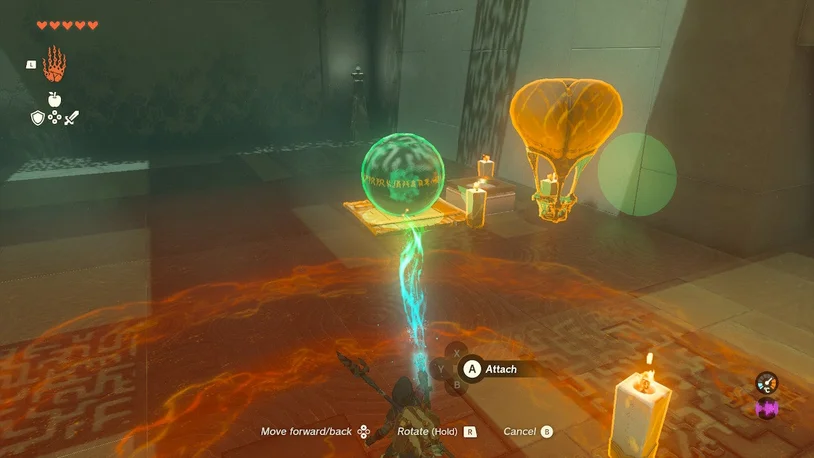
A few balloons, torches, and boards can be found in the first room of the Sinawak shrine. Try to keep the lit torches glowing; if they do, you can relight them with the hand-held torch on the ground to the right by passing one flame from one to the other. You should construct a hot air balloon.
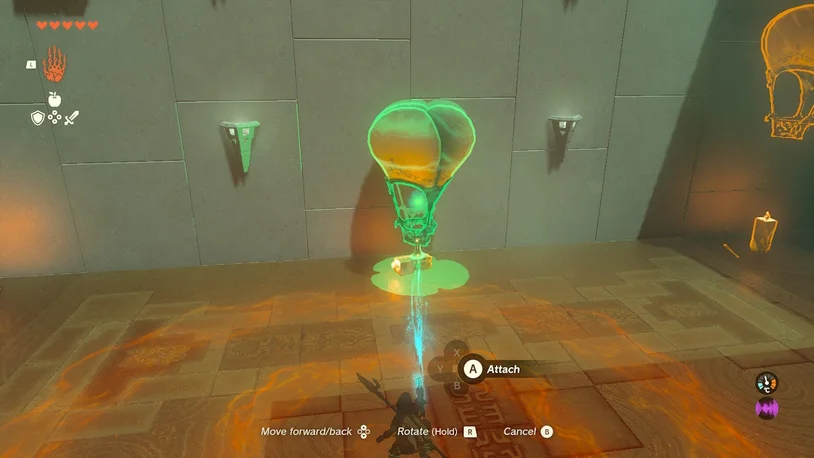
Set a square board against the high rear wall by grabbing it from the left side. Put a balloon in the middle of it now.
Use Ultrahand to move a torch towards your balloon and platform combination while standing on the board near the balloon. Attach or simply hold the torch next to the balloon while standing on it.
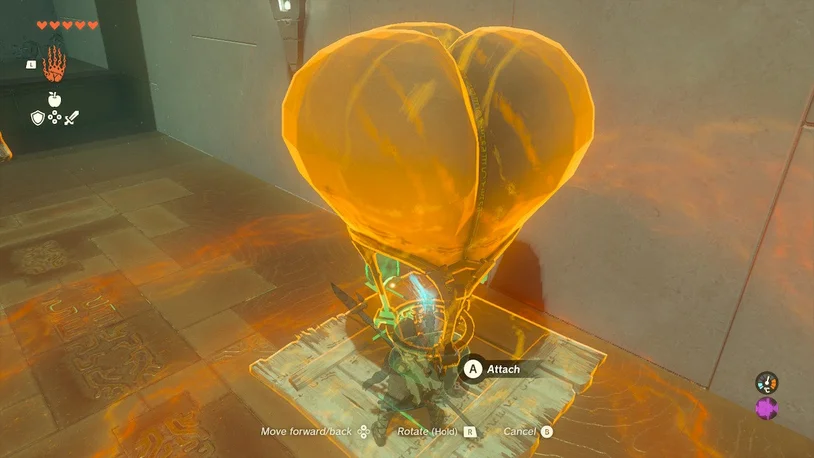
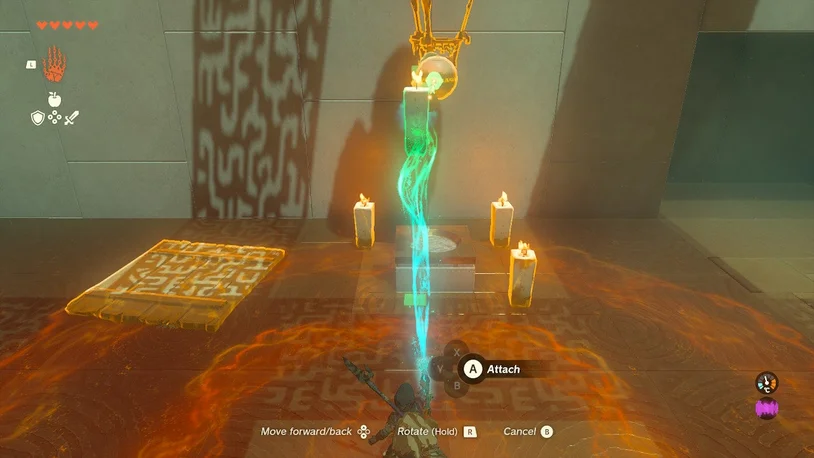
When you get to the ceiling, drop or fasten the torch before jumping off. Grab the torch now, and place it underneath. If you accomplish this correctly, it will stay lighted, but if not, you can relight it using a torch, a Fire Fruit, or other materials.
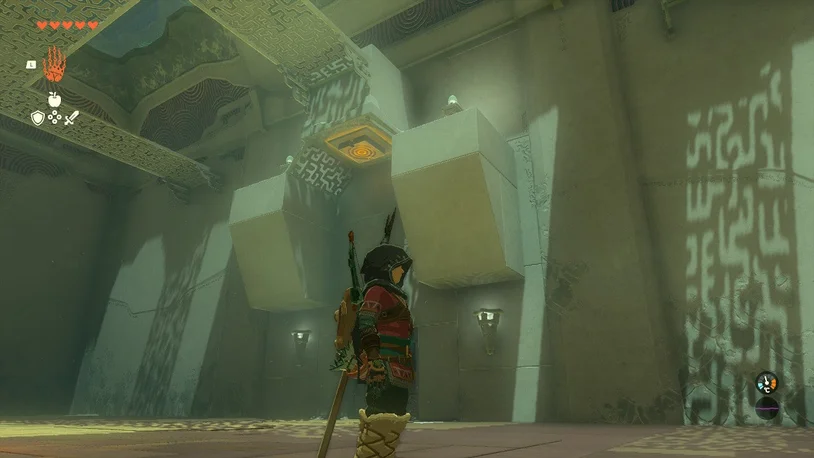
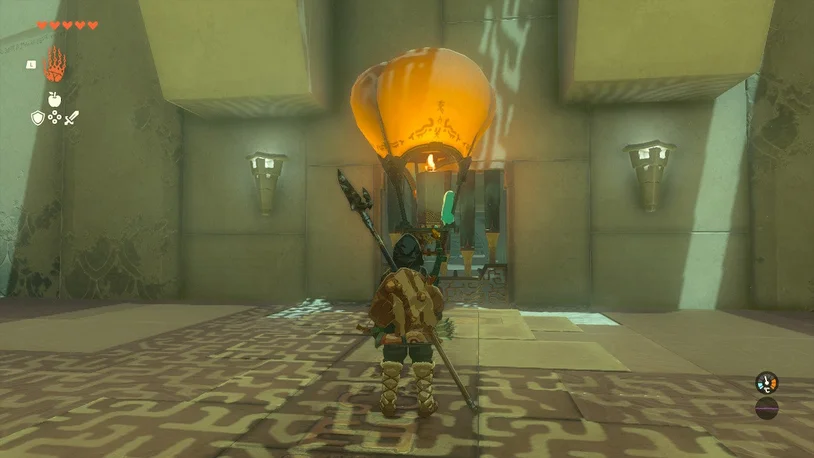
Only a pressure switch located on the overhang above the locked gate up ahead may be used to unlock it. It has an orange glow about it.
Place a balloon close to the entrance. Put a lit torpedo inside of it, then fasten it. As it rises, it will strike the switch.
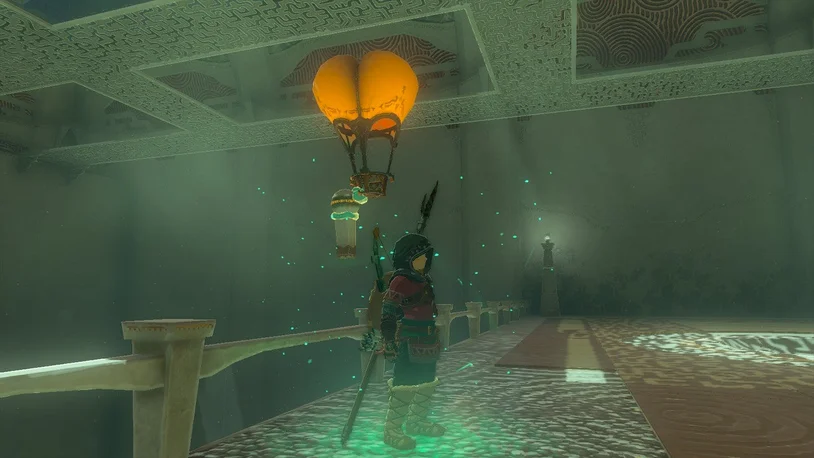
The next large room contains a closed exit gate, two spheres in a pit below, and a large number of hot air balloons. Remember that you can utilise Ascend to ascend freely to the exit platform from the lower section with the spheres.
Your objective is to place the little sphere in the impression or divot outside the exit door. Follow these steps to accomplish this:
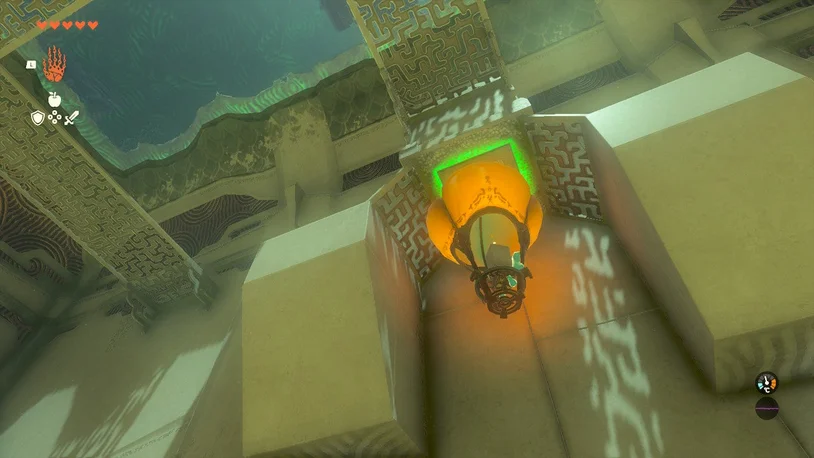
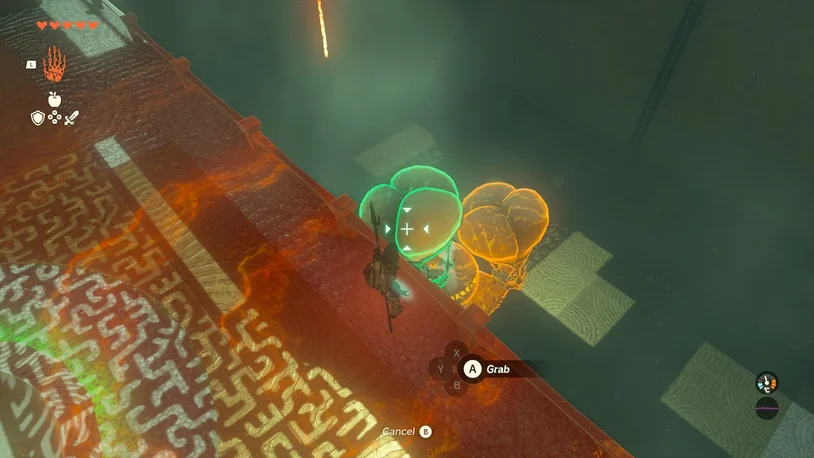
Join a balloon to the little sphere. THE SPHERE MUST NOT be moved from its position of rest. If you do, reposition it. Directly affix a balloon to the sphere. Add a candle to the balloon and move it inside.
The balloon should get caught on the metal catwalk above as you ascend. To get the balloon out of the device, grab it, move it over the impression or divot, and wiggle the stick. The door will swing open when it rolls into the gap.
Don’t go just yet!
Treasure Location
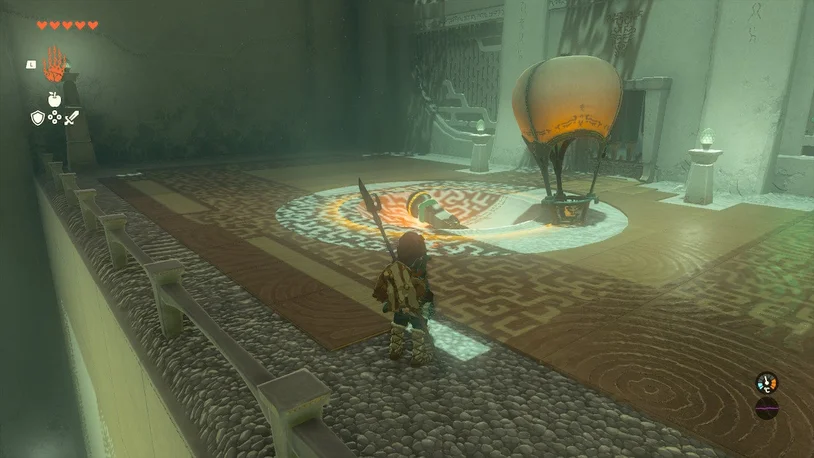
Get the larger sphere up to the divot/impression adjacent to the second gate to unlock the treasure chest, which is concealed behind it. How to do it:
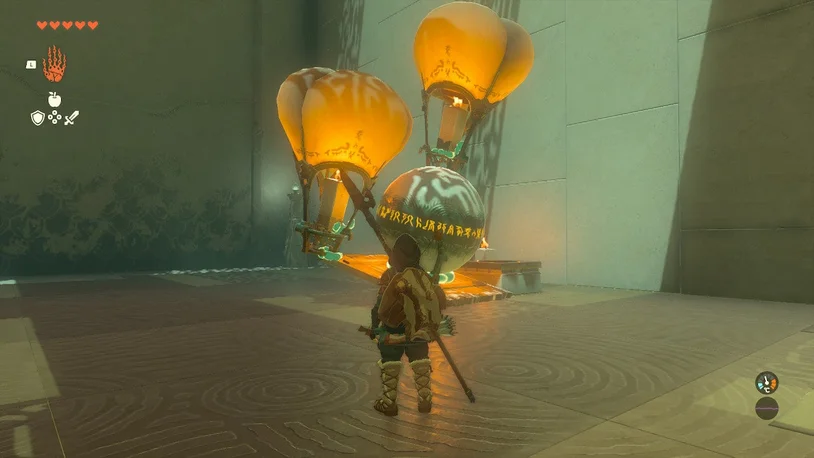
Fix the huge sphere into the wooden platform’s square shape. Do this precisely beside the large wall that leads up to your objective.
Attach the platform and sphere to at least two balloons.
Each balloon’s candle should be moved.
With two balloons, progress is sluggish but effective.
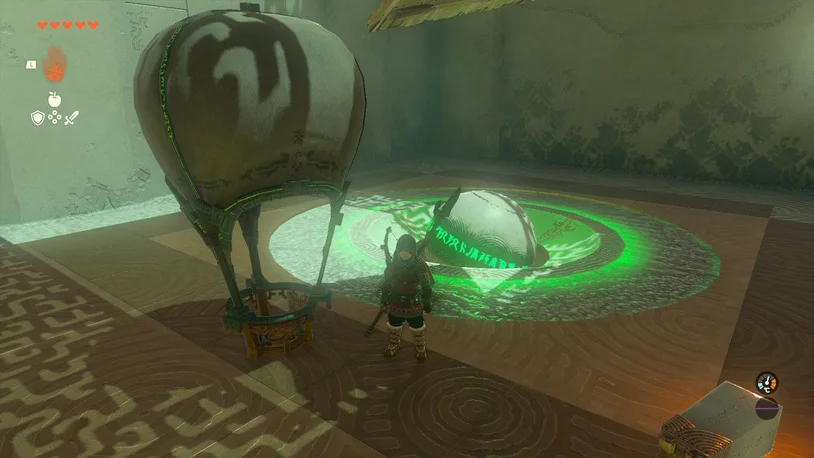
Ascend to the upper platform using the impression/divot.
When the sphere appears, separate it with Ultrahand, grab it, and drop it into the gap.
”Opal” is in the treasure chest; claim it!
Exit the shrine.